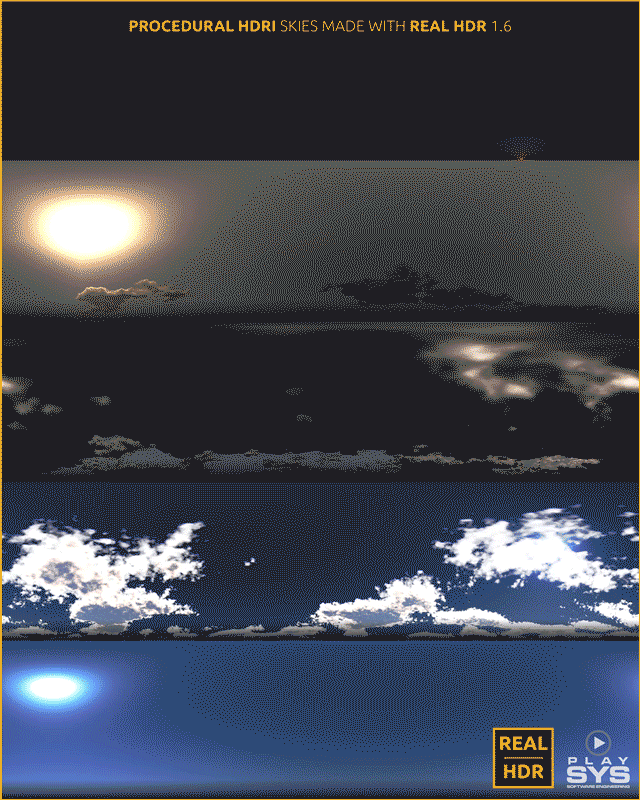
Imagine if you could procedurally create infinite Animated HDRI Sky. This was my idea some time ago while watching a trailer we made to present the SkyLight module, and since then I started working on a keyframe tool. I spent part of my summer vacations collecting some timelapse and hyper-lapse videos to evaluate the atmosphere and cloud speed during the transition of time. The big part, however, is the flow of the data, since Real HDR 1.5 was not capable to store extra values…obviously since it was not meant to.
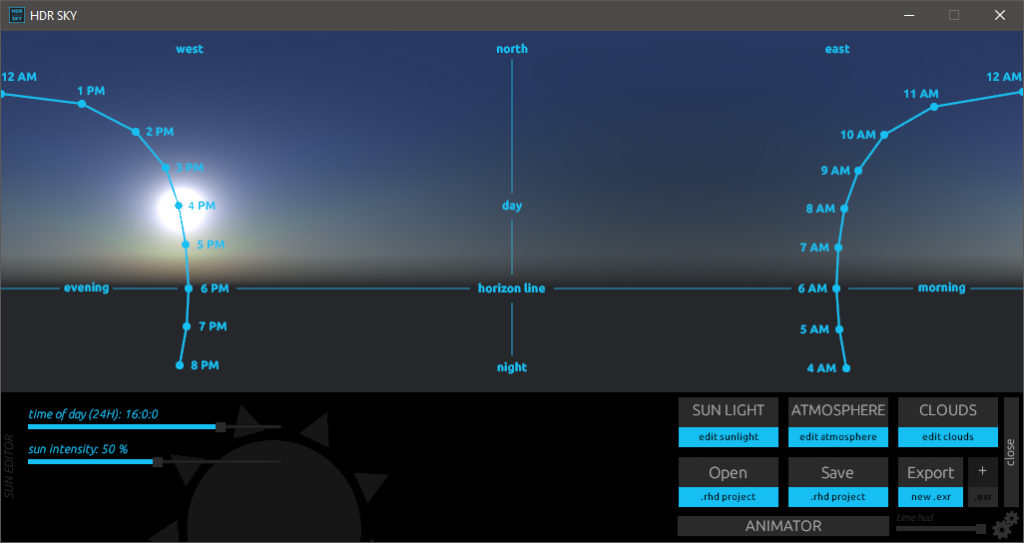
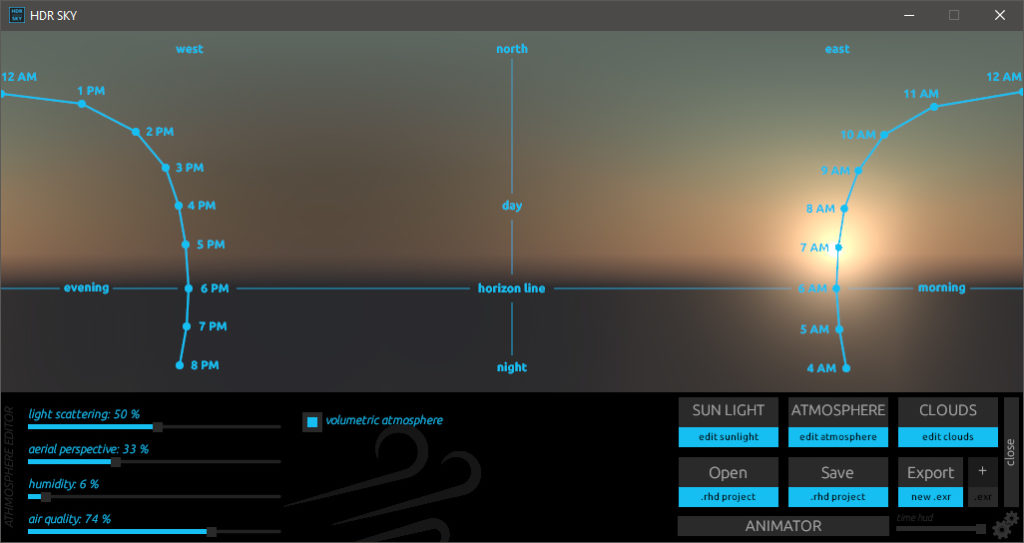
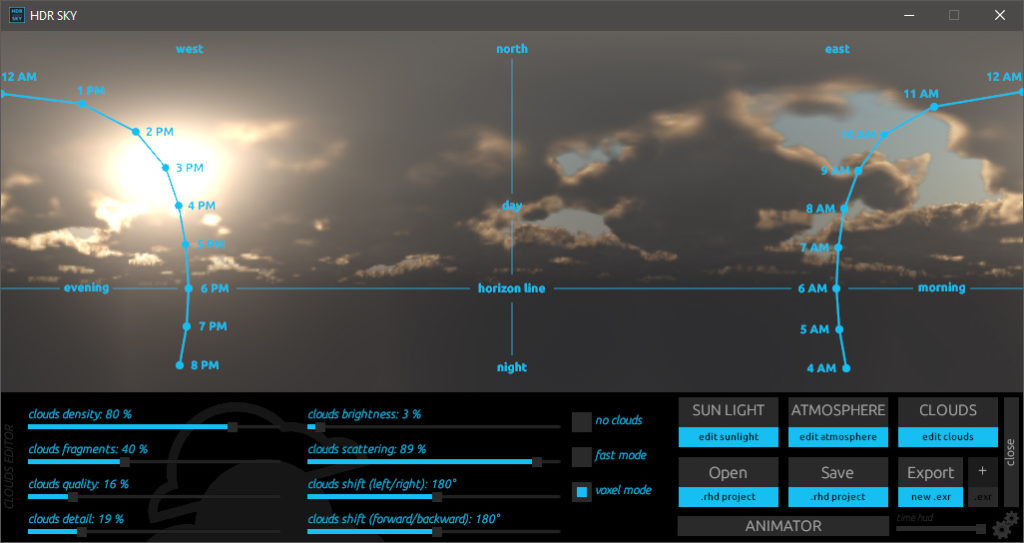
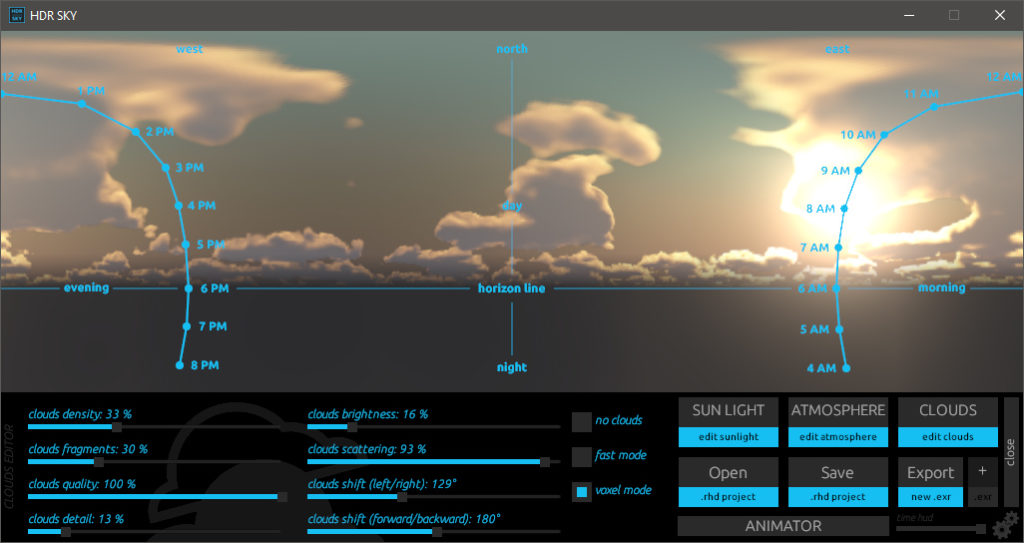
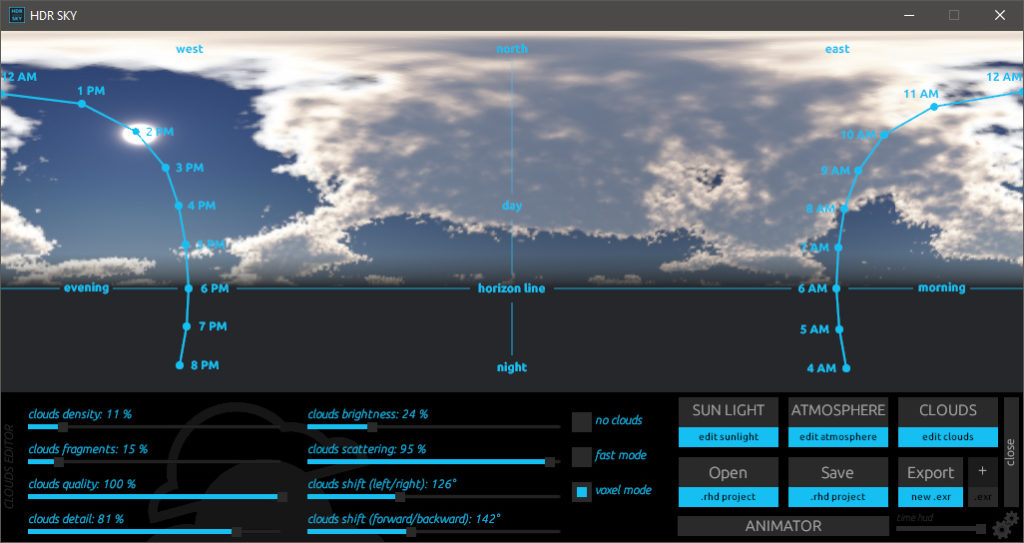
So here is the first version of our Real HDR SkyLight Animator to generate Animated HDRI Sky
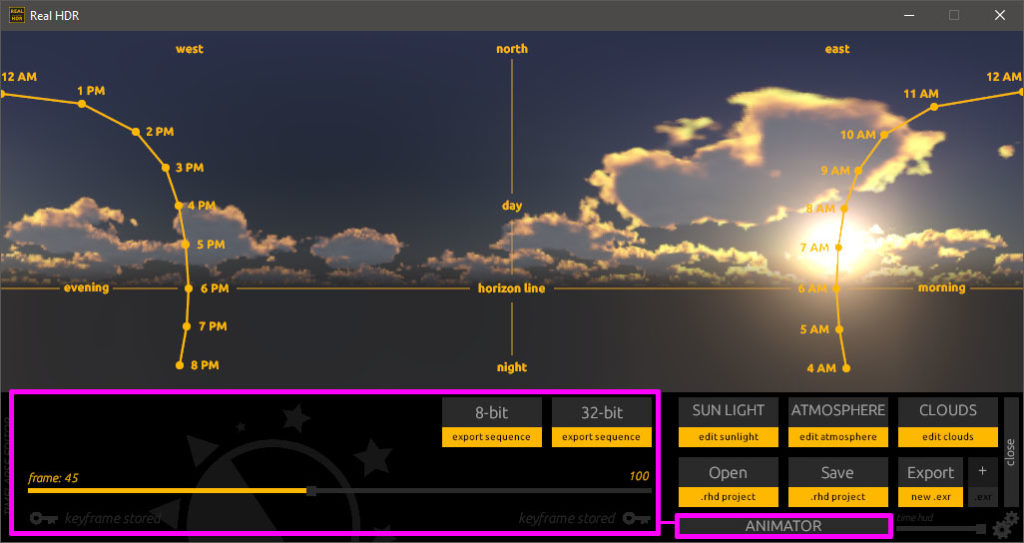
There are a timeline and two keys, one on the left and one on the right. The animation process is not so different from any other 3D or video software: set the values of time, sun, atmosphere and clouds as you like and press on of the keys; set again the values as you like for the destination of the transition and click on the other key.
Every time you click on a key, its data is overwritten (so think twice before doing so – I mean – there are no hundreds of parameters, but still…).
The timeline is defining the interpolation between the two states and if while sliding you find a more appropriate sky condition for your creations, just press one of the keys to trim the transition.
There is also an editable timeline range and this may be used to refine the “resolution of time”, meaning you can have a higher or lower frame rate.
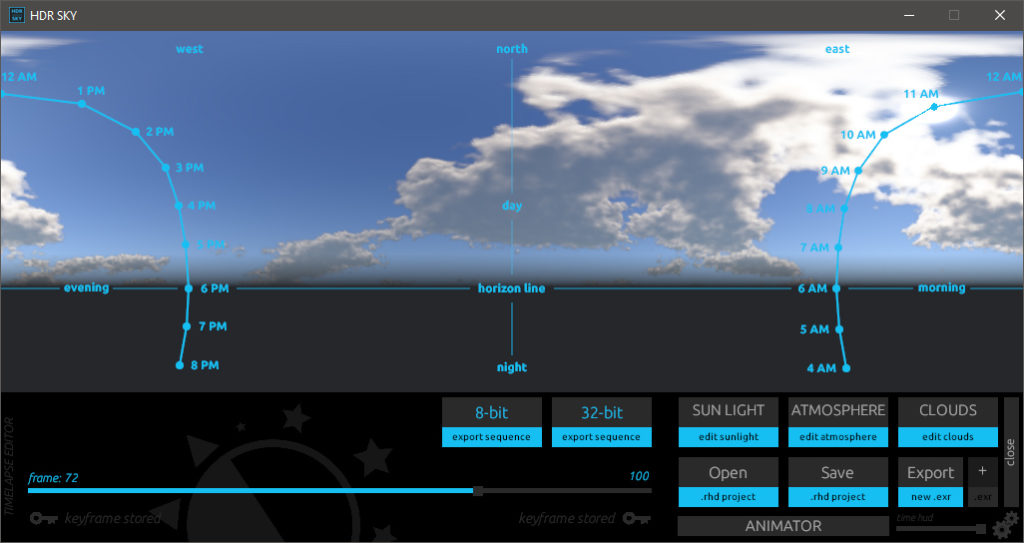
The EXR exporter does its job as usual, so this new timeline can be used to find a proper mix between two SkyLight states. Anyway, I suppose most of the artists are going to use this new feature for animations so I added two more buttons inside the animator that will manage the exported sequence’s format: PNG or EXR (both are linear, so PNG should be gamma converted later to see the appropriate colors). The sequence exporter exports the frames from the selected one so if you have, let’s say, an animation of 30 frames total and you are on frame 15, it will export only the remaining 15 frames to reach the end. This is cool to resume the process later on.
Lastly, I extended the RHD file format, adding new chunks for the animator values.
So now it is your time: This is the first integration of the animator and I really need your feedback on how you perceive it, the usefulness, what you don’t like and what you want to see next in it. Have fun!
The post Animated HDRI Sky appeared first on Real HDR.
Article from software development blog – Real HDR (https://www.real-hdr.com)
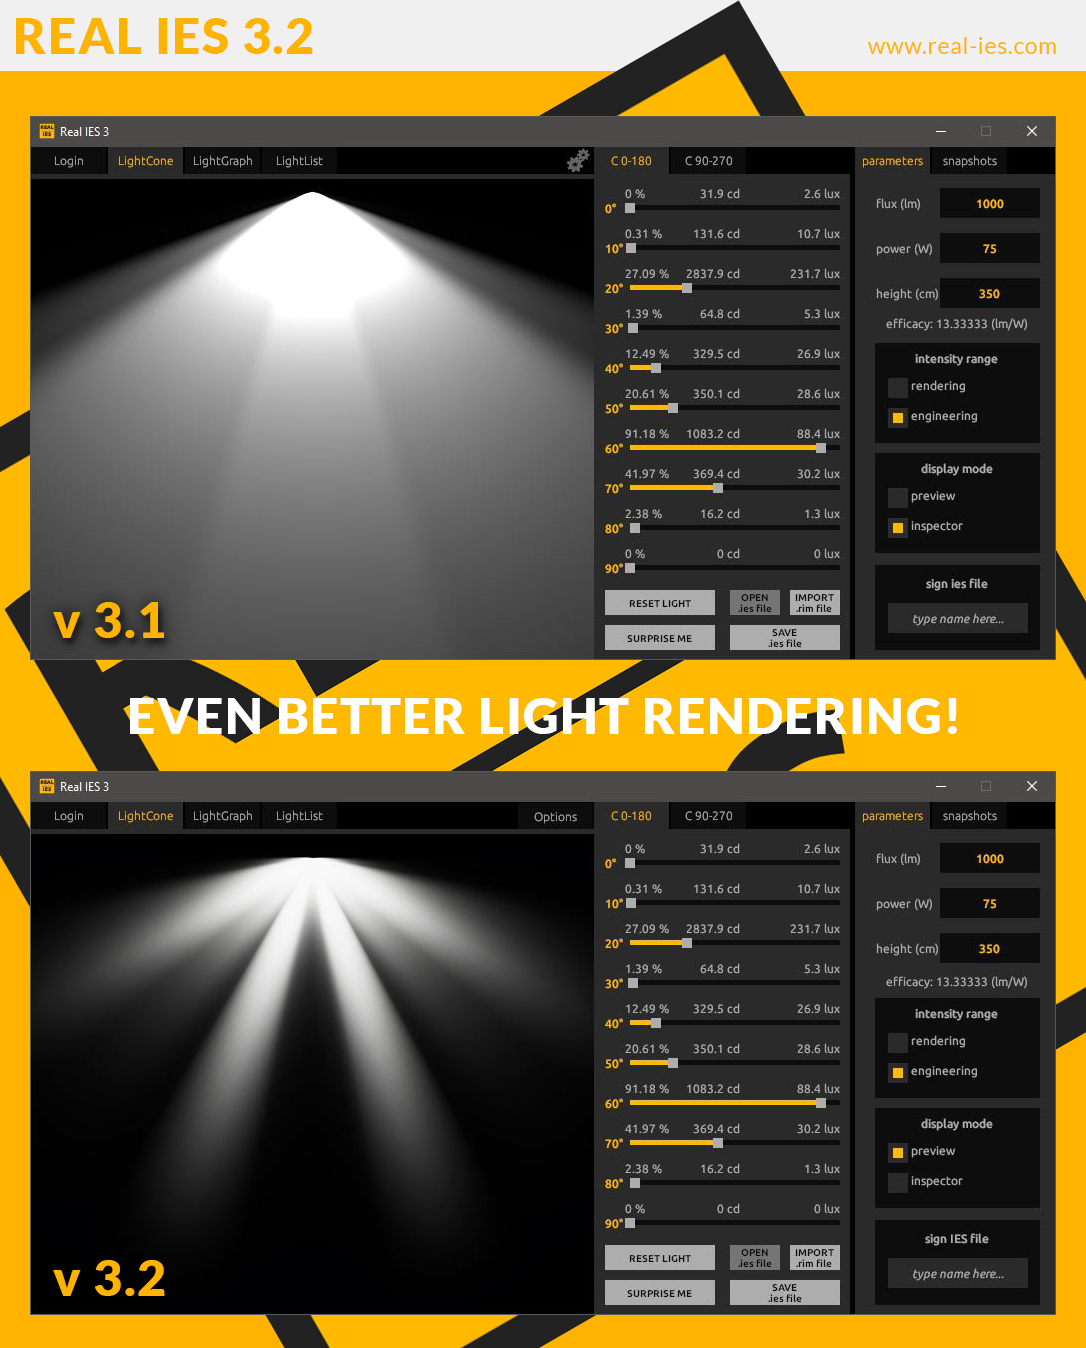
 In Real IES 4, there won’t be the preview or inspector anymore.
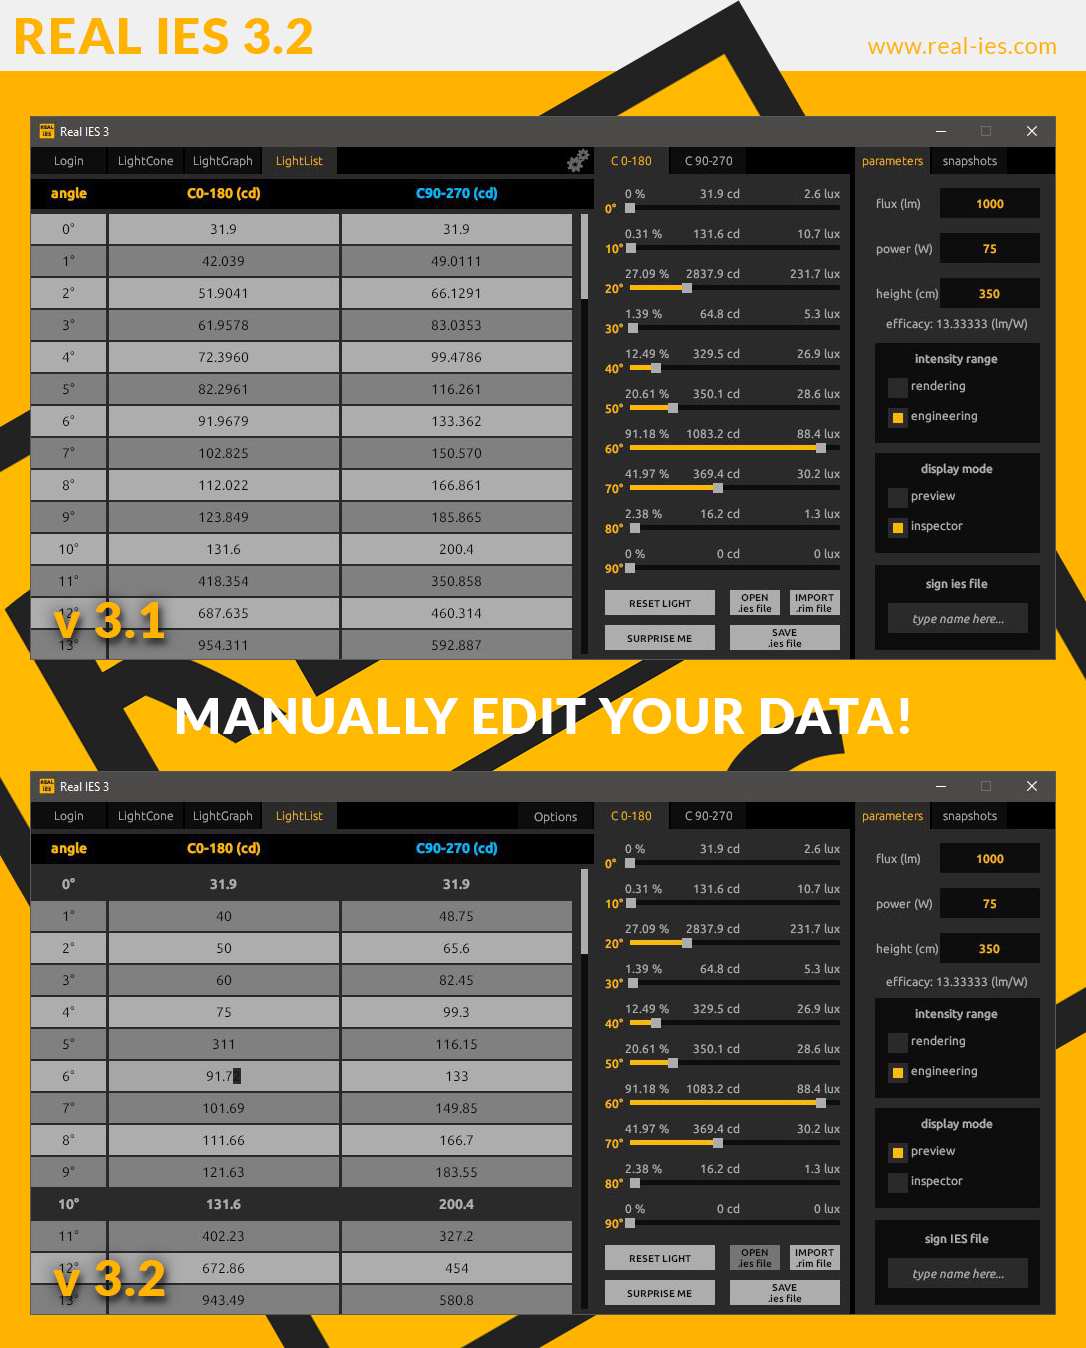

 and I am sure many of us already developed such common knowledge for experienced users.
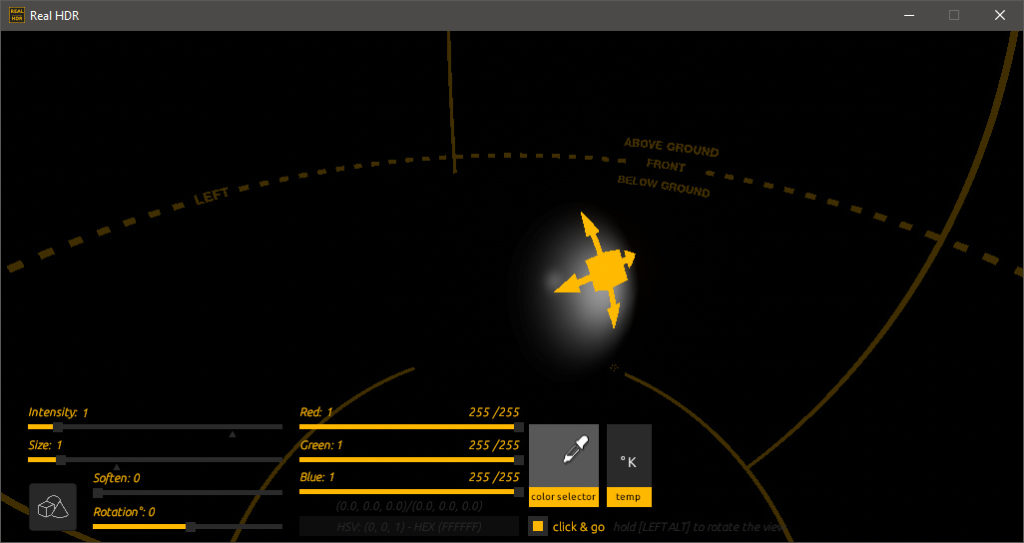
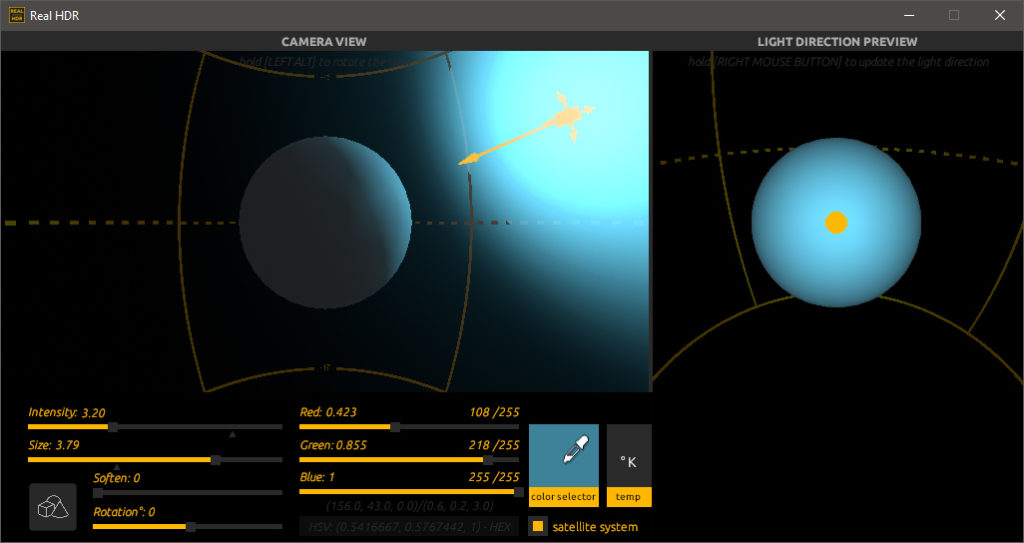


 I recorded a short video showing this using the famous
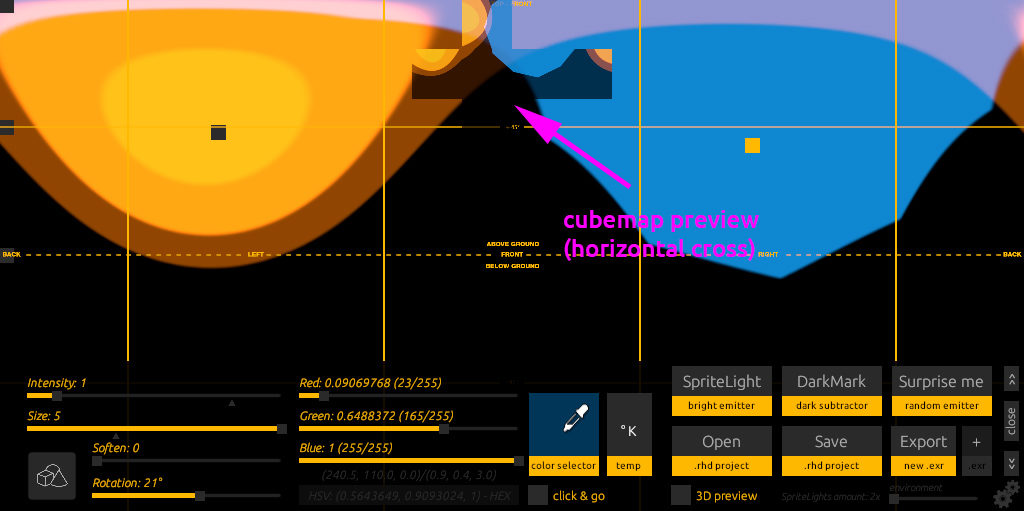
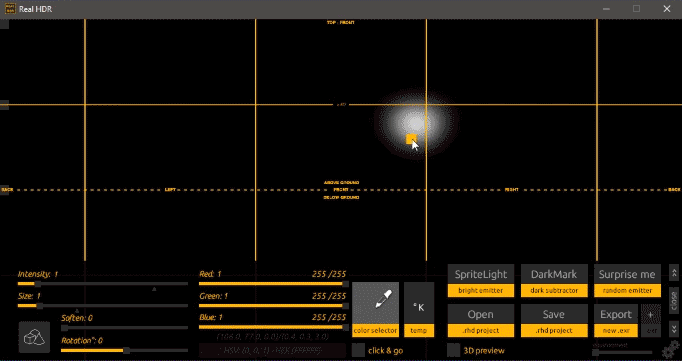
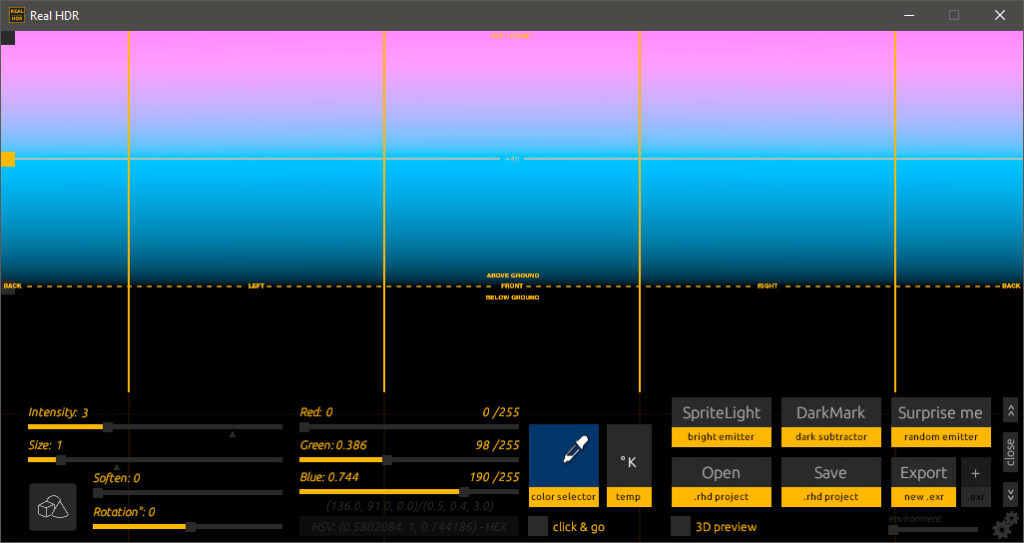
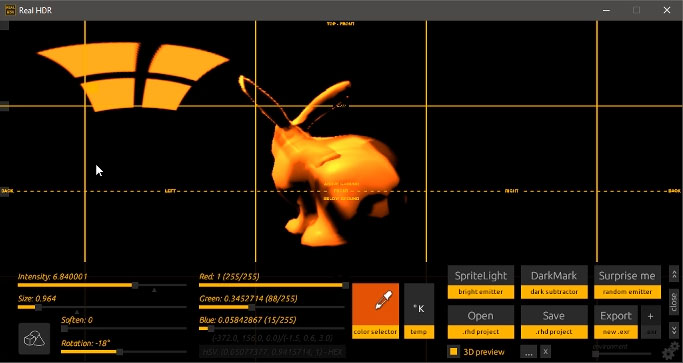
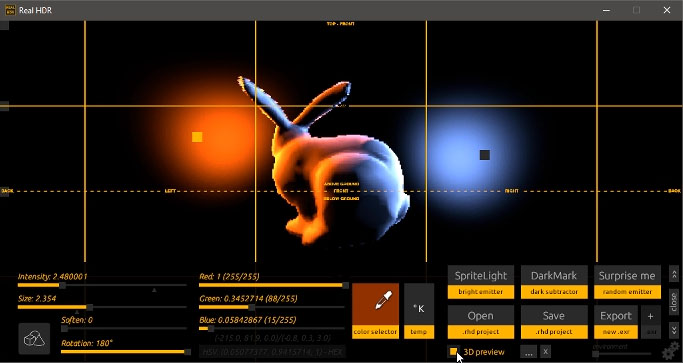
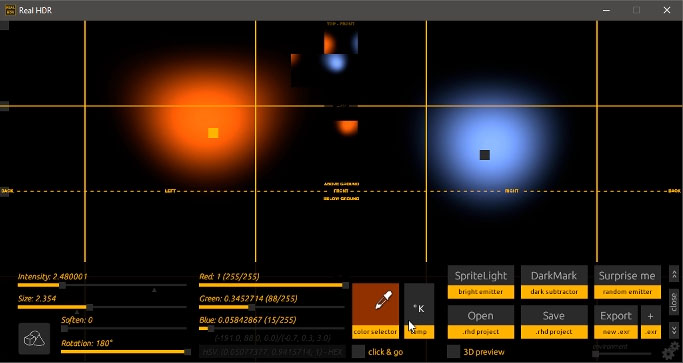
  As of today, Real HDR is a fast and quick tool to create HDRI images to be used as background for 3D renderings. These images are used to wrap the scene in a spherical way, giving the illusion of having a real 360° backdrop. Also, being the files in .EXR 32-bit, the brightness described by the pixels goes beyond white and can literally be used to emit light on 3D objects, having a consistent relationship between environment and illumination. Fascinating, but nothing new so far.
 /* tech notes